Step 1: This is the brainstorm and sketch step, usually I make a couple of quick sketches trying ideas and compositions to see what works best. Very important step, if the quick sketch doesn’t look good you’ll probably end up with something that could be much better.
Step 2: From a couple of sketches I pick the best looking and start to draw the design with pencil and paper. This one is from "Endless Chase"

Step 3: When the drawing is finished it’s time to trace the design. I used to do this on the original but recently I purchased an A4 lightbox to trace the drawing with fineliners. A good idea if you have a drawing with a lot of details. Also saves a lot of time erasing the pencil lines.

Step 5: The resolution must be higher, and if you’re a traditional artist you might recognize this. The solution is to trace the drawing with Inkscape. This way converts the drawing to a vector graphic ( be careful with smoothing lines ). And with this vector graphic you can scale up to any resolution you like. Save everything with a transparent background and we are ready for the next step.
Step 6: Time to add colors. Back to GIMP selecting areas with the magic wand and fill those with color and finish those areas with maybe a brush to add shades , textures etc. Best practice is to save multiple steps in this process. In case you want to change a thing you don’t have to redo everything.
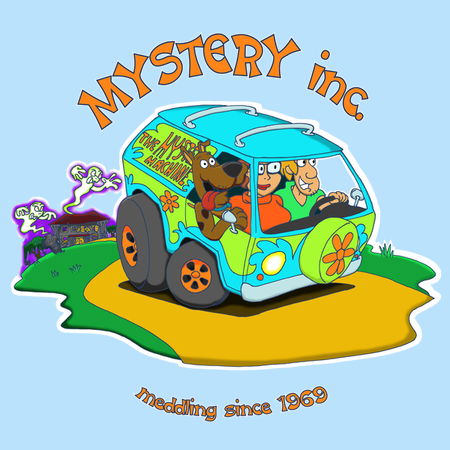
Step 7: After the design is fully colored there is an opportunity to add text , outlines or maybe something else to make it complete.
Step 7: After the design is fully colored there is an opportunity to add text , outlines or maybe something else to make it complete.
Step 8: I think it is a good idea to wait a day or maybe longer before I upload the design. Very often I discovered little things like forgot to add my signature. And if everything is still good than I upload my work. At the same time I make a promotional image for social media channels. My advice don’t upload the same high resolution file to any social media, someone else can take your work with no problem.
Step 9: Is promoting my design on different social media. And thinking about the next one. My favorite is Instagram because that’s aimed on images. But maybe you prefer a different channel.


Until next time, have a great day.
Greetings Andres